Onboarding Freelancers
Onboarding freelancers – although an incredibly rewarding process, you’d be surprised at how many clients do it wrong.
Let’s set the scene: you’ve found yourself a freelancer (or two) that you’d like to work with. You’ve agreed on the brief/terms, and you’re heading towards an exciting new venture for your business – great news!
Well, don’t get too comfortable – when onboarding freelancers, this is just the beginning…
Freelancers may require more onboarding attention than permanent employees, as they will be unlikely to know the company culture as well as a full-time team member. If a freelancer doesn’t have proper knowledge about your company values or needs, there could be a greater risk of mistakes being made within the project itself.
Besides, onboarding freelancers the wrong way may cause negative effects for the company – whether it’s not complying with GDPR regulation, or acknowledging your internal set of ethical rules about receiving gifts from external providers.
That’s why we’ve put together a complete guide on how to onboard freelancers, to make sure that bringing freelancers into your team will always be plain sailing.
Ready? Let’s go!
1. Setup the right communication channels

The first thing you need to think about after hiring a freelancer is what channels you (and your colleagues) will be using when communicating with them. Picking the right communication channels should be your first priority, as you should always have a paper trail for everything discussed with the freelancer. If you’re not good with communication, you could consider researching PR outreach for a smoother experience. Doing this could avoid miscommunications.
We suggest informing the freelancer to keep information on major project details all in one place – like on Twine. All communication on Twine is covered by our terms and conditions, meaning we can step in and assist if a situation arises where our terms are broken. Having a clear record of everything you’ve discussed with your freelancer, as well as everything you’ve ever asked them to do, will distinguish any risk of project issues.
It’s also important that both you and the freelancer know how to reach each other. Make sure it’s made clear what the most efficient means of communication are for you, your freelancer, and your team – whether through the use of an expansive email or onboarding video.
Also – aside from the main means of communication, you also want to make sure you have the right collaboration tools, ensuring your freelancers stay in sync with the rest of your team.
So – which channels should you use? Well, there’s a couple of important things you need to consider when working with freelancers…
Do the channels you’ve picked provide everything you need?

To be frank, there are a LOT of communication channels out there. Although the most popular options are systems like WhatsApp or Email, (and are great as a starting point for discussing freelance projects), they’re just not designed to onboard freelancers effectively.
Why do we say that?
Well, WhatsApp is ubiquitous, as well as quick and easy to use. However, it isn’t designed to share large files or get stakeholders to comment on work. Constant scrolling through previous messages to find what was said earlier is another major disadvantage.
Simply emailing is great for getting lots of people into a thread, but isn’t designed for quick and easy instant messaging. It can also become a real mess if the message threads are large, or if everyone uses different email providers.
The communication channels you pick should do these 3 things:
- Make it easy to share files of any size quickly and easily
- Enable you to jump on video or audio calls at any time
- Enables everyone involved in the project to comment and review work
Instead of a phone call or instant messaging, you may form a better connection between yourself and the freelancer, if they can see the people they are going to work with. This better connection may also encourage them to communicate more openly, and build on the company culture.
Can everyone in your team see the message threads and contribute?

Avoid being the message carrier for your team. Ultimately, it’s a poor use of your time and can be easily avoided by using the right tools.
If your team can have visibility of communication with their freelancer, then it will help with accountability and ensuring the freelancer is getting maximum support and responsiveness – not to mention an equal spread of the communication load.
To save time (and stress), you should consider centralizing your online collaboration and communication as much as possible. Spending less time switching between tools ensures you’re getting more work done – not to mention creating a better experience for you and your freelancer.
For this, we recommend Rock as an excellent core communication channel with freelancers. You can send messages, create tasks, set up meetings and even integrate your Google Drive to every space – all for free.
Rock also allows you to add as many people as you want to a project – whether it’s a freelancer, client or team member – they can all be part of the conversation and workflow.
The focus with Rock, is multi-modal communication. This allows you to pick and choose how to communicate with your freelancers, depending on the urgency of response or need for documentation. You can seamlessly bring large projects to completion by dividing your workflow into tasks, which are incorporated into every space on Rock. Discuss completed work through comments and messages, or jump on a quick Zoom call for things that are better discussed in person.
Poorly managed communication can cause a lot of bad things for your business: wasted time, wasted energy, could cause messages to be misconstrued which results in inaccurate feedback – just to name a few.
If the communication is bad enough, you could be looking at project delays or, even worse, a total project breakdown. Yikes.
2. Rules of communication and etiquette

Once you have your communication channels sorted, your next priority should be setting expectations for the type of communication you and your freelancer have.
It’s vital that you set aside time to have a conversation on expectations. Laying out everything you need for the job, as well as any special requirements, will save you a lot of time now than if you were to mention it later. If the project and expectations are clear, the freelancer can get you the finished product sooner.
But, how often should you expect to communicate with your freelancer?
Do you prefer to have weekly check-ins or daily progress updates?
Would it be helpful to have your freelancer join one of your pre-existing team’s Rock channels?
Deciding upfront how you want the communication to flow will make it easier for both you and the freelancer to work together.
Each team has different needs. You’re going to need a tool that is both flexible enough to grow with you, as well as reliable for when your team and projects change. With Rock’s notes, the onboarding process is made easy for everyone – allowing you to share how your team usually brings projects to completion, as well as where to find everything in the space.
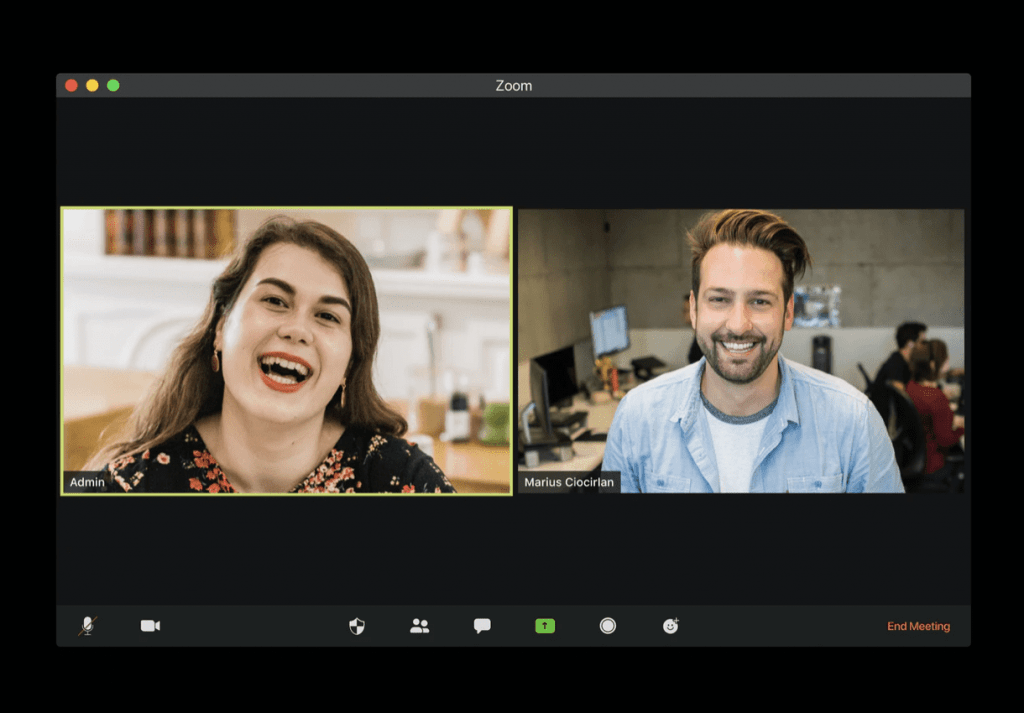
Rock allows you to choose from a variety of communication methods, whether it’s instant messaging, set tasks, notes or a quick 5-minute video call. All of your important communication channels are in one place, allowing you continuous work updates and sharing of information across platforms.
You only have so many hours in the day, so having a good tool with proper communication channels set up can add a lot of value to your business.
This goes for both you and the freelancer. Figure out how much time you’ll need the freelancer for and see if that works within their availability. For example, you may agree that content writers should provide one article per week in order to stay active on your freelancer list.
To save you time whilst onboarding freelancers, we also recommend that you develop a style guide that you can pass to any new freelancer that you work with. Your style guide should include:
- Info about your mission as a business and, if required for the project, your target audience/customer personas
- Information about your brand tone voice/tone – which may contain preferences for formatting and grammar
- A list of competitors not to reference in the project
A style guide doesn’t need to be a lengthy document – just a useful template that you can have on hand, and edit depending on the freelancer and project.
3. Ensure your freelancer is setup with the right tools

An aspect of the project most people forget when onboarding freelancers, is do they have the right tools?
As well as setting up the right communication channels, you need to ensure that every freelancer you hire is set up with the right tools to get the job done.
Never assume that the freelancer you’re hiring will be using the same tools as you, even if you use the industry standard, like Adobe Photoshop for design, or Cinema 4D for animation. It’s best to ask the freelancer what tools they are planning to use for the project, to see whether there are any tools they will need your help to set up.
If the tool you need a freelancer to use is subscription-based, then we recommend not providing the freelancer with a shared password. A shared password, however trustworthy your freelancer may be, is a potential security risk. Especially if you use the same password across multiple accounts – which if you are, then we advise you to stop immediately!
Once the freelancer has all the tools installed, you should then check that they have access to any templates, workflows or presets that they may need to get the work done. If you’re unsure what your freelancer may need then you should speak to a colleague, or your freelancer, or do some research on the software company to figure out what’s what.
4. Introduce the right stakeholders
Onboarding freelancers can’t be complete without making the right introductions. Letting the freelancer know who the stakeholders are for every project is a vital step in onboarding a freelancer. This is especially true if the team structure is complicated, or if there are several departments they will need to work with.
Here’s a meeting schedule we’ve seen many companies successfully use to onboard freelancers using Twine:
- Initial “welcome to the team” meeting
We recommend setting up an initial kick-off meeting between the freelancer and your team, to introduce everyone and chat about the project on a high level. You don’t need to involve every single team member, so don’t pull colleagues away from other tasks if they don’t have a critical role in the project.
A kick-off meeting will likely work best as a video call or in-person meeting, as being face to face will help establish a better personal connection between your team and the freelancer.
2. Formal introduction with managers
After an introductory meeting, we then suggest setting up a second meeting with the specific managers responsible for the project. This is so you can discuss any specific details about the work, and your freelancer has a better idea of who they’re reporting to.
If the project is simple, and does not require any support or explanation from your team, then it may be better to skip this meeting entirely. Again, we suggest that you make this meeting either face to face or video, as establishing a connection is crucial.
3. Review relevant project documents and guidelines
After you have sent across detailed guidelines and project files, your freelancer will likely have questions about the project. So, (we know this sounds quite meeting-heavy), we suggest allowing time in your schedule for a third call.
How you conduct this meeting is less important than the others – your focus should be on having answers to the freelancers’ questions and making them feel comfortable, whether that involves a video call, audio call or instant message.

4. Meeting to review technical issues
Finally, you should not underestimate any unexpected technical issues which may arise when onboarding freelancers – mostly, when it’s incredibly inconvenient…
Allow time for your freelancer to go through any technical issues, however small they may seem. In fact, before scheduling a call about technical issues, we suggest you ask the freelancer to summarise them so that if you require specific expertise with colleagues, you can bring them onto the call to diagnose a specific issue.
Depending on the size of your team, and the complexity of the project, you may not want to set up quite as many meetings as we suggest – do whatever works best for you and your freelancer. Although, when onboarding a freelancer, there’s no such thing as too much information…
5. Agree the payment terms
Amongst the onboarding freelancers process, it is highly advisable to get all payment related details agreed with your freelancer before a project begins.
First, you should agree on the type of payment (hourly, project-based or a fixed fee) that is best for the project you’re hiring for.
The Twine Vault gives you the assurance of securely storing your money for an agreed period of time (project milestone, deadline etc.) and releasing it to the freelancer once you are satisfied that the work is complete.
As well as payment terms, you should also check that the freelancer is happy with the payout method. We provide a number of options on Twine – including PayPal, Payoneer, US or UK bank transfer and Wire Transfer.
The best part about using Twine to manage your freelance contractors, is that we provide an invoice tool with a built-in billing system, making it easy to do everything in one place.
But, regardless of how you set up your projects, we recommend that you use a structured time billing software schedule, so your freelancers know when to expect their pay. Doing this will eliminate any stress of them not knowing when their next paycheck will be, and help ensure they are loyal and work with you for the long term.
6. Set up a feedback schedule
The final step in onboarding freelancers is setting up a feedback schedule to review their work.
Feedback schedules do not need to be rigid or overly formal, but consistency is important. If you spring feedback requests on freelancers you hire without warning, then you could not only cause stress, but damage your relationship with them.
For effective feedback, we also recommend using a tool designed to make it easy for teams to review work and leave comments.
A lot of people use Google Docs for simple copywriting tasks, or Google Drive for simple image transfer, but we’ve found that Rock is a particularly effective tool for both.
With comments on all tasks and notes, documentation and feedback between colleagues and freelancers will be much easier to manage. Look back at past discussion points with ease, and hold people accountable where needed. You can also connect relevant Google Drive folders to each space in Rock – not having to deal with hidden files and endless e-mail threads hiding important documents.
When you are planning out your projects, make sure you provide a consistent flow of interesting work. Use the skills of your freelancer to their advantage, as a bored freelancer may feel unappreciated, and start to seek work with other companies.
Finally, don’t forget to check-in with the freelancer from time to time to ensure that their schedule suits them well.

And that’s it!
We hope you’ve found our guide to onboarding freelancers helpful. If you’re interested in more of the process, check out the hiring freelancers section here on our blog.
Have any questions? Don’t hesitate to leave us a comment below, we’ll get back to you as soon as we can!
Ready to hire? Our marketplace of over 410,000 freelancers have the skills and expertise needed to skyrocket your business to the next level. From marketers to designers, copywriters to SEO experts – browse the talented bunch here!

